Before you start
For Android / iPhone / iPad / Windows / macOS
- Phone or tablet
- Computer
- Data-capable USB cable or a file-storage service
- Enough destination storage
Watch the workflow
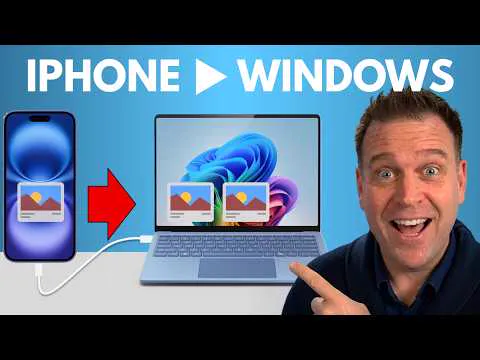
How to Transfer Photos & Videos from iPhone to Windows over USB
iPhone to Windows walkthrough. For Android or Mac, follow the matching steps below.
Watch on YouTube ↗Build it step by step
- 01
Pick the route for your devices
Find the original clip on your phone and note its duration, dimensions and file size if shown. Copy rather than move it. Follow only the matching device step below: Android to Windows, iPhone/iPad to Windows, or phone to Mac. Avoid a normal video message or social-media download, which may deliver a compressed copy.
- 02
Android to Windows: copy over USB
Unlock the phone, connect a data-capable USB cable and tap the USB notification. Choose File Transfer. In Windows File Explorer, find the phone and copy the clip into your project folder. Camera clips are commonly under DCIM; screen recordings may be under Movies or Pictures. Folder names vary by device. Wait for copying to finish before disconnecting.
- 03
iPhone or iPad to Windows: import originals
Install Apple Devices if needed, connect by USB, unlock the device and accept Trust. Use Windows Photos to import the selected clip. If iCloud has offloaded it, download the full original first. To avoid automatic transfer conversion, check the Photos settings on the device for Transfer to Mac or PC → Keep Originals. An original HEVC file may need compatible playback software.
- 04
To a Mac: use an original-file route
For iPhone or iPad, select Keep Originals in the device’s Photos settings before USB import. Image Capture lets you import directly to a folder. If the clip is in Mac Photos, use File → Export → Export Unmodified Original when you need the source file rather than an edited export. For Android, upload the original file to a file-storage service such as Drive and download it on the Mac; do not save a streaming preview.
- 05
Inspect the computer copy
Open the copied file and check picture and sound at the beginning, middle and end. Compare duration, dimensions and frame rate using the available file information. For a direct file copy, compare exact byte counts where available. Similar size alone does not prove identical content; matching checksums can verify byte-for-byte equality when you can calculate them on both copies.
- 06
Back up before clearing the phone
Put the checked copy in your project’s source folder, then make a separate backup and confirm it opens. Keep the phone version until both copies are ready. If Photos is synced to a cloud library, remember that deleting a clip there may delete it from other synced devices too.
Check your finished work
Use this checklist before moving on.
Something not working?
The computer does not see the phone
- Unlock it and accept Trust or select File Transfer as appropriate.
- Try another data-capable cable and USB port. Some cables only provide power.
The copied clip has no picture
- The player may not support the original codec, especially HEVC. Try compatible playback or editing software before assuming the transfer failed.
- Keep the original and create a separate editing copy if your editor needs a different format.
File size or duration changed unexpectedly
- Check whether you exported an edited version, downloaded a preview or allowed automatic conversion.
- Repeat the transfer using an original-file option. File size alone cannot establish that quality was preserved.
A cloud download is incomplete
- Wait for both the upload and download to finish, then open the local file with the network disconnected.
- Check that you downloaded the file itself rather than a link or placeholder.