Before you start
For macOS
- Mac running macOS Mojave 10.14 or later for Screenshot recording
- Enough free storage
- Microphone (optional)
Watch the workflow
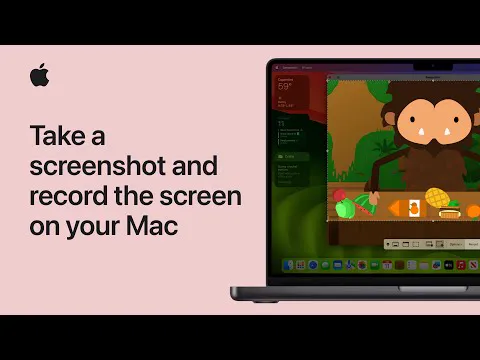
How to take a screenshot and record the screen on your Mac
A companion walkthrough to follow alongside the written guide.
Watch on YouTube ↗Build it step by step
- 01
Prepare the screen you want to show
Open the app or document you will demonstrate. Close unrelated windows, hide private tabs and review notification settings. For a tutorial, make text large enough to read in the final video. Decide whether viewers need the entire display or only the working area.
- 02
Choose the recording area
Press Shift + Command + 5 and select a video-recording control, not a still screenshot. Use Record Selected Portion for a focused area and drag its edges to fit. Entire Screen captures more context; selected-window recording is also available on macOS Tahoe 26 or later.
- 03
Choose audio and a destination
In Options, select a Save to location and the microphone you want for commentary, or None for a silent recording. The microphone setting does not by itself capture clean internal app audio. Use an app with system-audio capture, such as a compatible OBS setup, if that is essential. A timer gives you a moment to prepare.
- 04
Make a short test, then record
Click Record and demonstrate a few actions. Stop from the menu bar or with Command + Control + Escape. Open the result and check the frame and voice before repeating for the full demonstration. Move the pointer deliberately and leave a brief pause between actions so viewers can follow.
- 05
Trim and name the finished clip
Open the saved recording in QuickTime Player and choose Edit → Trim. Drag the trim handles to remove setup and stopping time, preview, then apply the trim. Save a clearly named copy in your project folder. Watch the result and check the first and last actions were not cut off.
Check your finished work
Use this checklist before moving on.
Something not working?
I hear my voice but not the app
- The microphone option records microphone input. Do not assume it captures internal app sound.
- Use a recording tool that explicitly supports system audio on your macOS version, and verify with a short sample.
I cannot find the recording
- Check the Save to location in Screenshot Options; Desktop is the default.
- Look for a file named Screen Recording with the capture date and time.
A window is blank in the recording
- Some apps restrict capture of their content.
- If using a third-party recorder, review its screen-recording permission in System Settings → Privacy & Security and reopen it if requested.